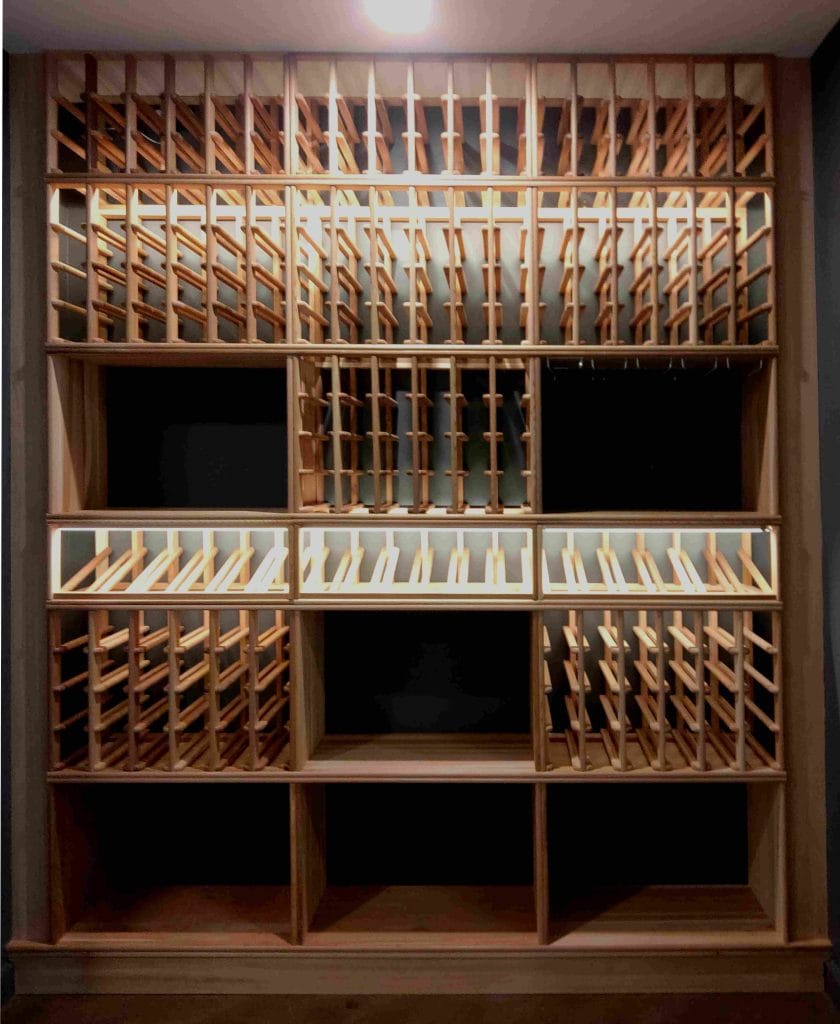
How to build a Wine Cellar
Building a wine cellar using modular wine racking from Cellar Smart Australia can be a highly rewarding endeavour. Whether you are a connoisseur or an amateur enthusiast, designing and constructing a cellar with these modular systems allows for a personalized, stylish, and efficient storage solution that can grow with your collection. This guide outlines the process of building a wine cellar using Cellar Smart Australia’s modular racking systems in six key steps.
1. Planning and Design
The first step in building a wine cellar is to carefully plan and design the space. Consider the location and size of the cellar, ensuring that the environment is appropriate for your wine storage. Ideal conditions include a temperature of 14-18°C and humidity levels between 60-75%. If you’re converting an existing room or space, such as a basement or unused closet, make sure it’s insulated and well-ventilated.
Cellar Smart Australia offers various modular wine racks in different materials like Douglas Fir, Western Red Cedar, Black Timber and even metal wine Racking. The versatility of these racks allows for custom configurations, so you can design a cellar that perfectly fits your space. Use the Cellar Smart Room Designer to create your desired layout, keeping in mind the need for growth as your collection expands. Consider a mix of racks that hold standard bottles, magnums, and display cases for your prized bottles.
2. Choosing the Right Racking System
Cellar Smart Australia’s modular wine racking systems are designed to be both flexible and scalable. This means that no matter the size of your collection, you can add on or reconfigure the racks as your needs change. When selecting your racking system, think about your current and future wine collection. If you have a few dozen bottles now but plan to expand your collection to several hundred, choose a system that allows for easy addition.
Modular wine racks come in various sizes and styles, including individual bottle racks, diamond bins, and timber case storage units. They also offer freestanding racks or wall-mounted versions, depending on the layout of your cellar. If you’re short on space, wall-mounted units are a great option to maximize vertical storage, while freestanding racks give you flexibility in terms of layout.
3. Preparing the Cellar Environment
Once you’ve planned the layout and selected your modular racking, it’s time to prepare the space. A stable temperature is important for the maturation of wines, attempt to maintain a consistent temperature, especially if your cellar is in a non-climate-controlled area like a garage or basement. Insulating the walls, floor, and ceiling will help keep the environment stable.
A dedicated wine cellar cooling unit can be included if your space is exposed to high temperatures. Cellar Smart Australia’s wine racks are designed to hold up in a variety of environments, but ensuring proper insulation and cooling will extend their longevity and maintain optimal wine storage conditions.
4. Assembly and Installation of the Modular Wine Racks
Modular wine racks from Cellar Smart Australia are designed to be easy to assemble. Once you’ve prepared the space, it’s time to put the racks together. Our modular units come with simple, clear instructions, and the materials required for assembly are included in the kit.
Start by laying out all the parts and ensuring you have the right tools. Typically, all you need is a screwdriver. Begin assembling the racks in your desired layout, starting with the largest pieces, such as case storage or bin racks, and then moving on to individual bottle racks. If you’re using wall-mounted racks, make sure to mount them securely into studs for stability. Always fix your wine racking to the wall for safety and stability.
5. Organizing Your Wine Collection
Once your wine racks are assembled and installed, it’s time to organize your collection. Depending on your collection’s size and diversity, you may want to organize by region, varietal, or age. If you have many different bottle sizes, Cellar Smart’s modular system will allow you to incorporate custom configurations that hold a variety of sizes.
For an elegant touch, consider placing your most prized or ready-to-drink bottles in display racks. These showcase the labels and make it easy to access your favourite bottles when entertaining guests. LED lighting will help to highlight your special wines on display.
6. Maintaining Your Wine Cellar
The final step in building your wine cellar is maintaining it. Regularly check the temperature and humidity levels to ensure they remain within the ideal range. Modular wine racks from Cellar Smart Australia are built to last.
With proper care, your wine cellar will not only preserve your collection but also enhance its value over time and the value of your property. Plus, the modular system allows for easy expansion should your collection outgrow your current setup.
Conclusion
Building a wine cellar using modular wine racking from Cellar Smart Australia is a smart, flexible, and scalable solution for wine storage. By carefully planning your space, selecting the appropriate racking system, preparing the environment, and maintaining your cellar, you can create a storage system that preserves your wine in perfect condition while providing a stunning aesthetic. Whether you’re just starting out or looking to grow an extensive collection, modular wine racks make it easy to adapt your cellar to your evolving needs.
Watch the Video here of the finished wine cellar.


